About seven or eight years ago I bought a Big Tex utility trailer. We needed something to haul motorcycles, livestock, hay, firewood, lumber, well to haul stuff. After looking around for a month for a used trailer that I thought would be the right size and have a loading ramp/tailgate I decided, after asking my wife, to buy a new Big Tex trailer. I remember the salesperson telling me that wood deck was white pine and stated the fact as if it were a selling point. I didn’t want to burst his bubble, so I let the comment slide, but knew that I would have to replace the wood deck in a few years because in this area pine would decay quickly. Over the years and to try and extend the life of the wood deck, I cleaned it and sealed it with deck stain. I’m confident that my efforts helped extend the life of the wood, but ultimately the wood decayed. The first failure was when I was loading a Suzuki GS 850 onto the trailer, my second winter motorcycle project this year. (See my blog The Transformer). As we pushed it onto the trailer the back tire broke through one of the planks. And so it began. I patched the broken board with a piece of plywood and over the next four months of use the trailer deck became a patch work of pieces of plywood. The last straw was last weekend when my son-in-law, Dustin, was moving the trailer, by hand, out of the way so he could get to his camp trailer. At the time my Tex didn’t have the four foot metal tailgate/loading ramp on it and I knew the tongue would be heavy so I thought I’d help Dustin by stepping up on the back of the trailer to counterbalance the weight off the tongue. As I stepped up onto the trailer the wood deck broke through and I was standing on the ground.
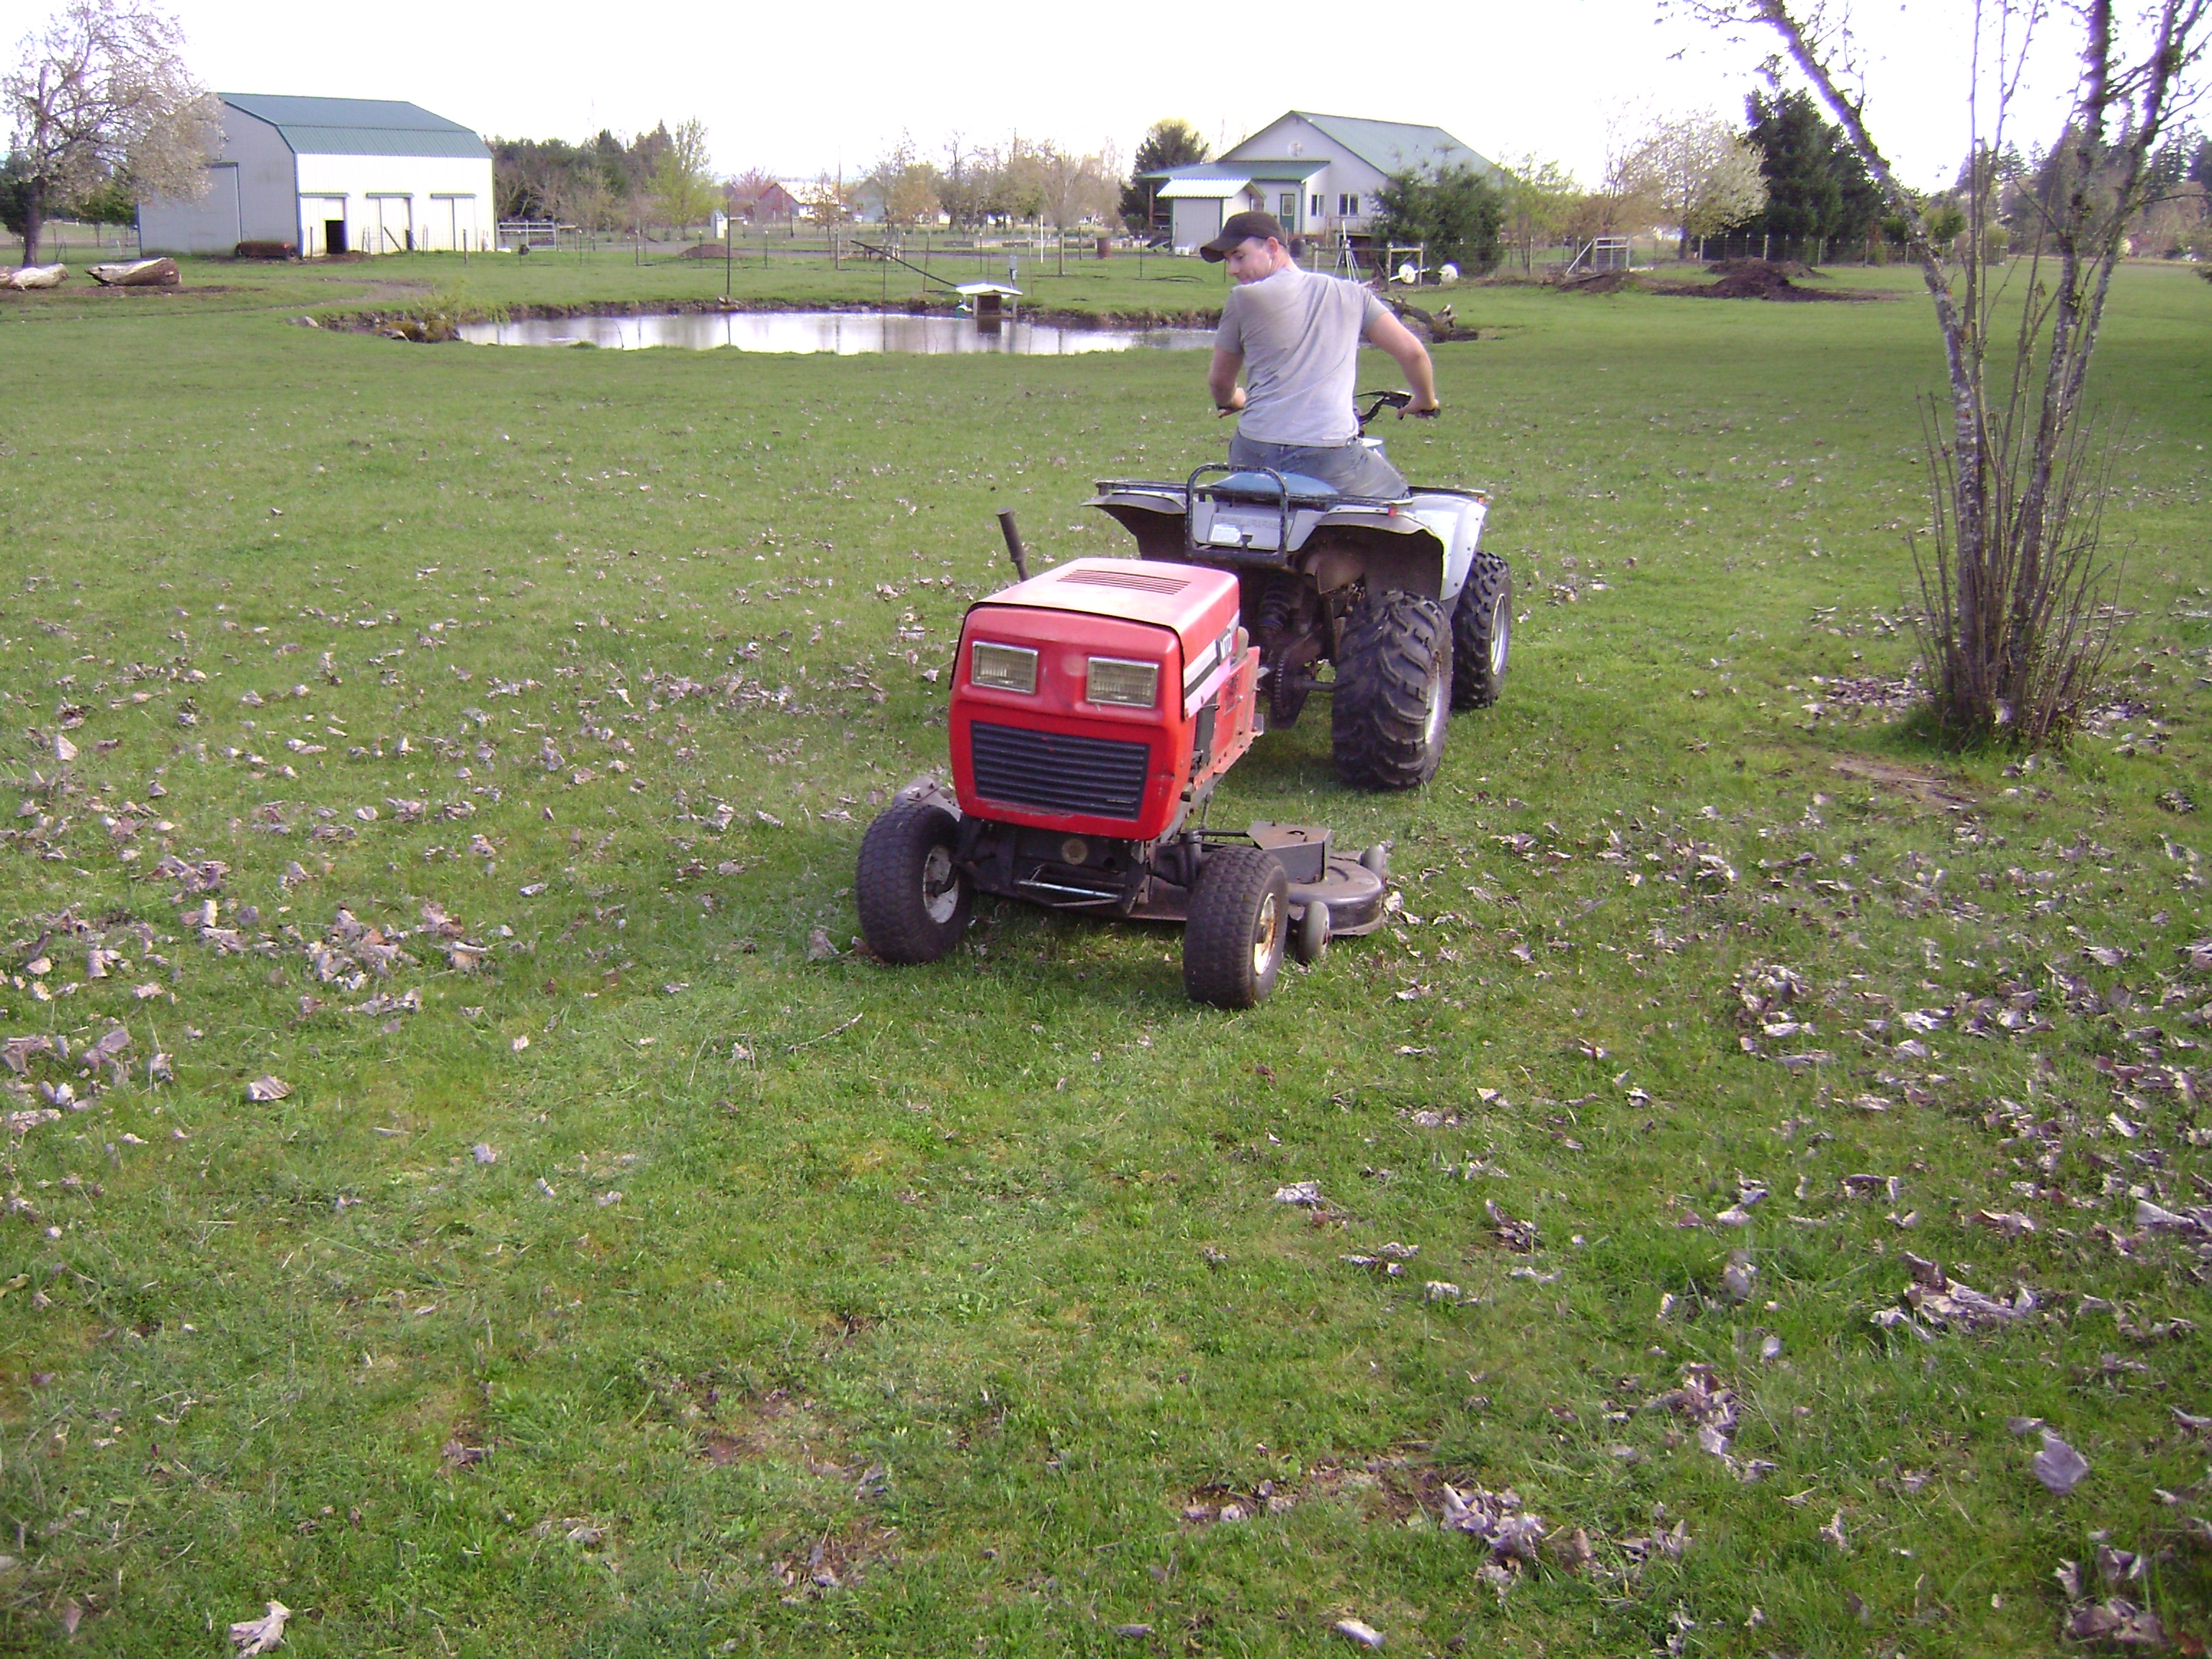
Thursday evening he called me and asked if he could borrow my trailer to haul my mower up to my mountain property to mow so my daughter, his wife, will have a nicely cut meadow for her and her friends to camp on. Of course I said yes, knowing that I would have to replace the deck on the trailer before it would be safe to use again. Last night, Friday, after work I removed the most rotted boards so they wouldn’t fall out on the road and drove to Home Depot, trailer in tow, to buy some pressure treated lumber to replace the rotted deck. I could have replaced the deck with untreated Doug Fir and it would have lasted several years if I kept it clean and stained, but even if it lasted ten years I’d have to replace it again and I’d be…well old and I knew I wouldn’t want to mess with replacing the deck again. When you get to be my age you start to considering things like that. If I was thirty I would have used Doug Fir and saved $60.00, but at my age you do the math and knowing you won’t live forever and your health may not always be excellent, you make different decisions.

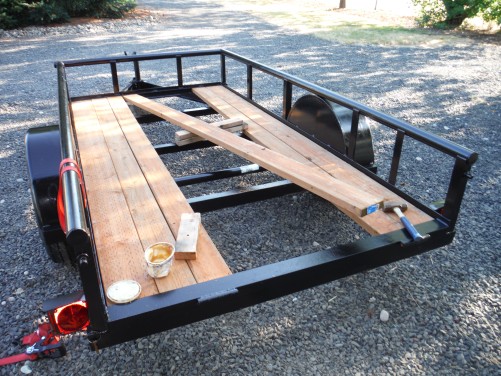
What is left of the original trailer decking.
After I got the lumber home, unloaded and the old rotting deck completely removed I could see that the metal frame was suffering from metal oxidation, rust, where the wood had been sitting on the metal and holding moisture. There was also the matter of the very rusted self-tapping lag screws that had held the deck in place and were now were sticking up out of the metal frames cross members. I thought the lag screws were going to be bolts with nuts and washers and I’d be able to remove them, but no, they were not removable. Using a three pound sledge hammer, I broke the lag screws off at the metal cross member and using my angle grinder I ground the little broken nubs of the lags off smooth. For the next hour, using the grinder and my drill with a wire brush wheel, I remove as much rust as I could. After I felt like I had most or all of the loose rust removed I washed the trailer with soap and water and rinsed it with the hose garden hose. Using my leaf blower, I blew most of the water off the trailer and let it sit in the sun to dry, while I went in the house to put on my painting clothes and drink a bunch of water. Did I mention that it was ninety degrees outside?
Lately I have been using Rustoleum 2X paint on my motorcycle projects and so far I have been impressed. 2X is a paint and primer all in one and of course it also fights rust. I had picked up a quart of black 2X and a cheap paint bush when I bought the lumber. When I opened the can I thought, “great, they put dark blue paint in the can and put gloss black on the label”. But, I thought, “what the heck, I’ll have a dark blue trailer instead of a black trailer” and started painting. Well as it turns out the paint is magical. It went on blue, but turned black as it dried. I applied the paint liberally onto the areas that the wood deck would sit on and in and when I was done painting, I pushed the trailer into my shop to let it dry overnight.

This morning I got early, while it was still cool, to put the wood deck on. In case you didn’t know this, on most trailers, both ends of the wood decking are held in place by metal channels. It’s a good design, but makes replacing the wood deck challenging. To replace the decking you have to place one end of the plank into one of the channels, angle the plank across the trailer, slip the other end of the plank into the channel at the other end and using a hammer and block of wood, drive it in place, parallel to the side of the trailer. It sound easy, but the channels were rough from years of rust and that corrosion made the diving the planks difficult. To add difficulty to the situation, there is a 2”wide metal plate that runs along both sides of the trailer, front to back. Instead of welding the plate flush to the bottom of the channels at the front and back of the trailer, they laid the plate in the channels and welded it in place. This makes the joint stronger but it also creates a lip in the channel that makes it difficult to slide the two side planks in place because the edge of the plank and the edge of the welded plate conflict.
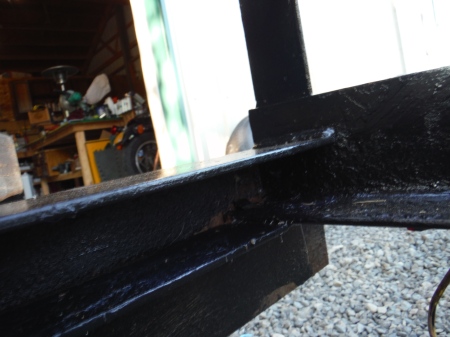
Showing the side plate welded inside the back channel.
To combat the roughness of the inside of the channel and the lip the plate and weld created I used axle grease to coat the inside of the channel. The grease not only allowed the planks to slide in the channel easily, it will also acts as an additional preservative to the inside of the metal channel and the ends of the planks where they sit in the channel and where moisture is most likely to be held.

Showing me greasing the inside of the back channel.
In addition, to make it easier for the edge of the plank to slide over the edge of the plate and weld, I rounded the edge of the plank by tapping on the square edge of the plank with my hammer. With the grease in place in the channels and the edge of the plank slightly rounded, the plank drove easily into place.

Showing how to round the edge of the board so it will easily slip over the weld and side plate.
Lying the planks at an angle, slipping both ends into the channels and driving them into place only works with the first six planks. After the first six are angle into place there isn’t enough space to angle any more planks and get both ends started. That is when it starts to get fun.
Showing how planks can be laid at an angle to get them started into the channels.
To get the rest of the planks to insert into the channels at the front and back of the trailer you now have to bend or bow the middle of the planks up. This shortens the length of the plank and allows you to insert both ends of the plank into the channels. There are probably several methods of doing this and you can probably do this with one person, but two people make it so much easier. This how my wife and I accomplished this next step; First you insert one end of the plank into the back channel, then using a floor jack and a 12” piece of scrap 2X4 or 4X4, one person jacks the center of the plank up while the other person pushes the front end of the plank down. When the center of the plank bows high enough the plank will become short enough that the front will be lined up with the opening of the channel. While the end of the plank is held lined up to the channel the other person lowers the jack and the end of the plank will slip into the channel. The last plank fit so tightly that I had to grease the side of the plank so it would slip down into place. The whole process of decking the trailer when fairly quickly, even with my wife helping, I meant, with wife helping. Thanks Honey!

Showing the jack in place and ready to bow the center of the plank up in the middle.

Some other things to consider:
- When choosing the boards for the deck makes sure they are straight and without big knots. You don’t want to have to fight warped boards into place and when bowing the boards, large knots can cause a weak point in a board and the board may break or crack.
- Buy boards without cracks. Pressure treated wood is only treated into the board .44 of an inch. Cracks that go deeper will allow water into the board and the board will rot from the center out.
- Buy boards that are still high in moisture content. Moist boards will be easier to bend and there will be less chance that they will break.
- If and/or when you drill holes through the boards and frame for bolts to hold the boards in place, treat the holes with a good dose of oil or wood preservative. This will help keep the wood from rotting around the bolts.
- Consider not drilling bolt holes through the boards. The boards fit tightly and will not fall out of the channels even if they shrink slightly. I am going to wait and see how loose the boards get when they dry. If I need to add bolts to hold the deck boards in place I will first explore the possibility of placing the bolts between the deck boards. If a lag bolt that will slip between each the boards, a large washer at the head should hold the deck boards secure to the frame and you can avoid drilling holes in the board.
Anyway…for what it’s worth.


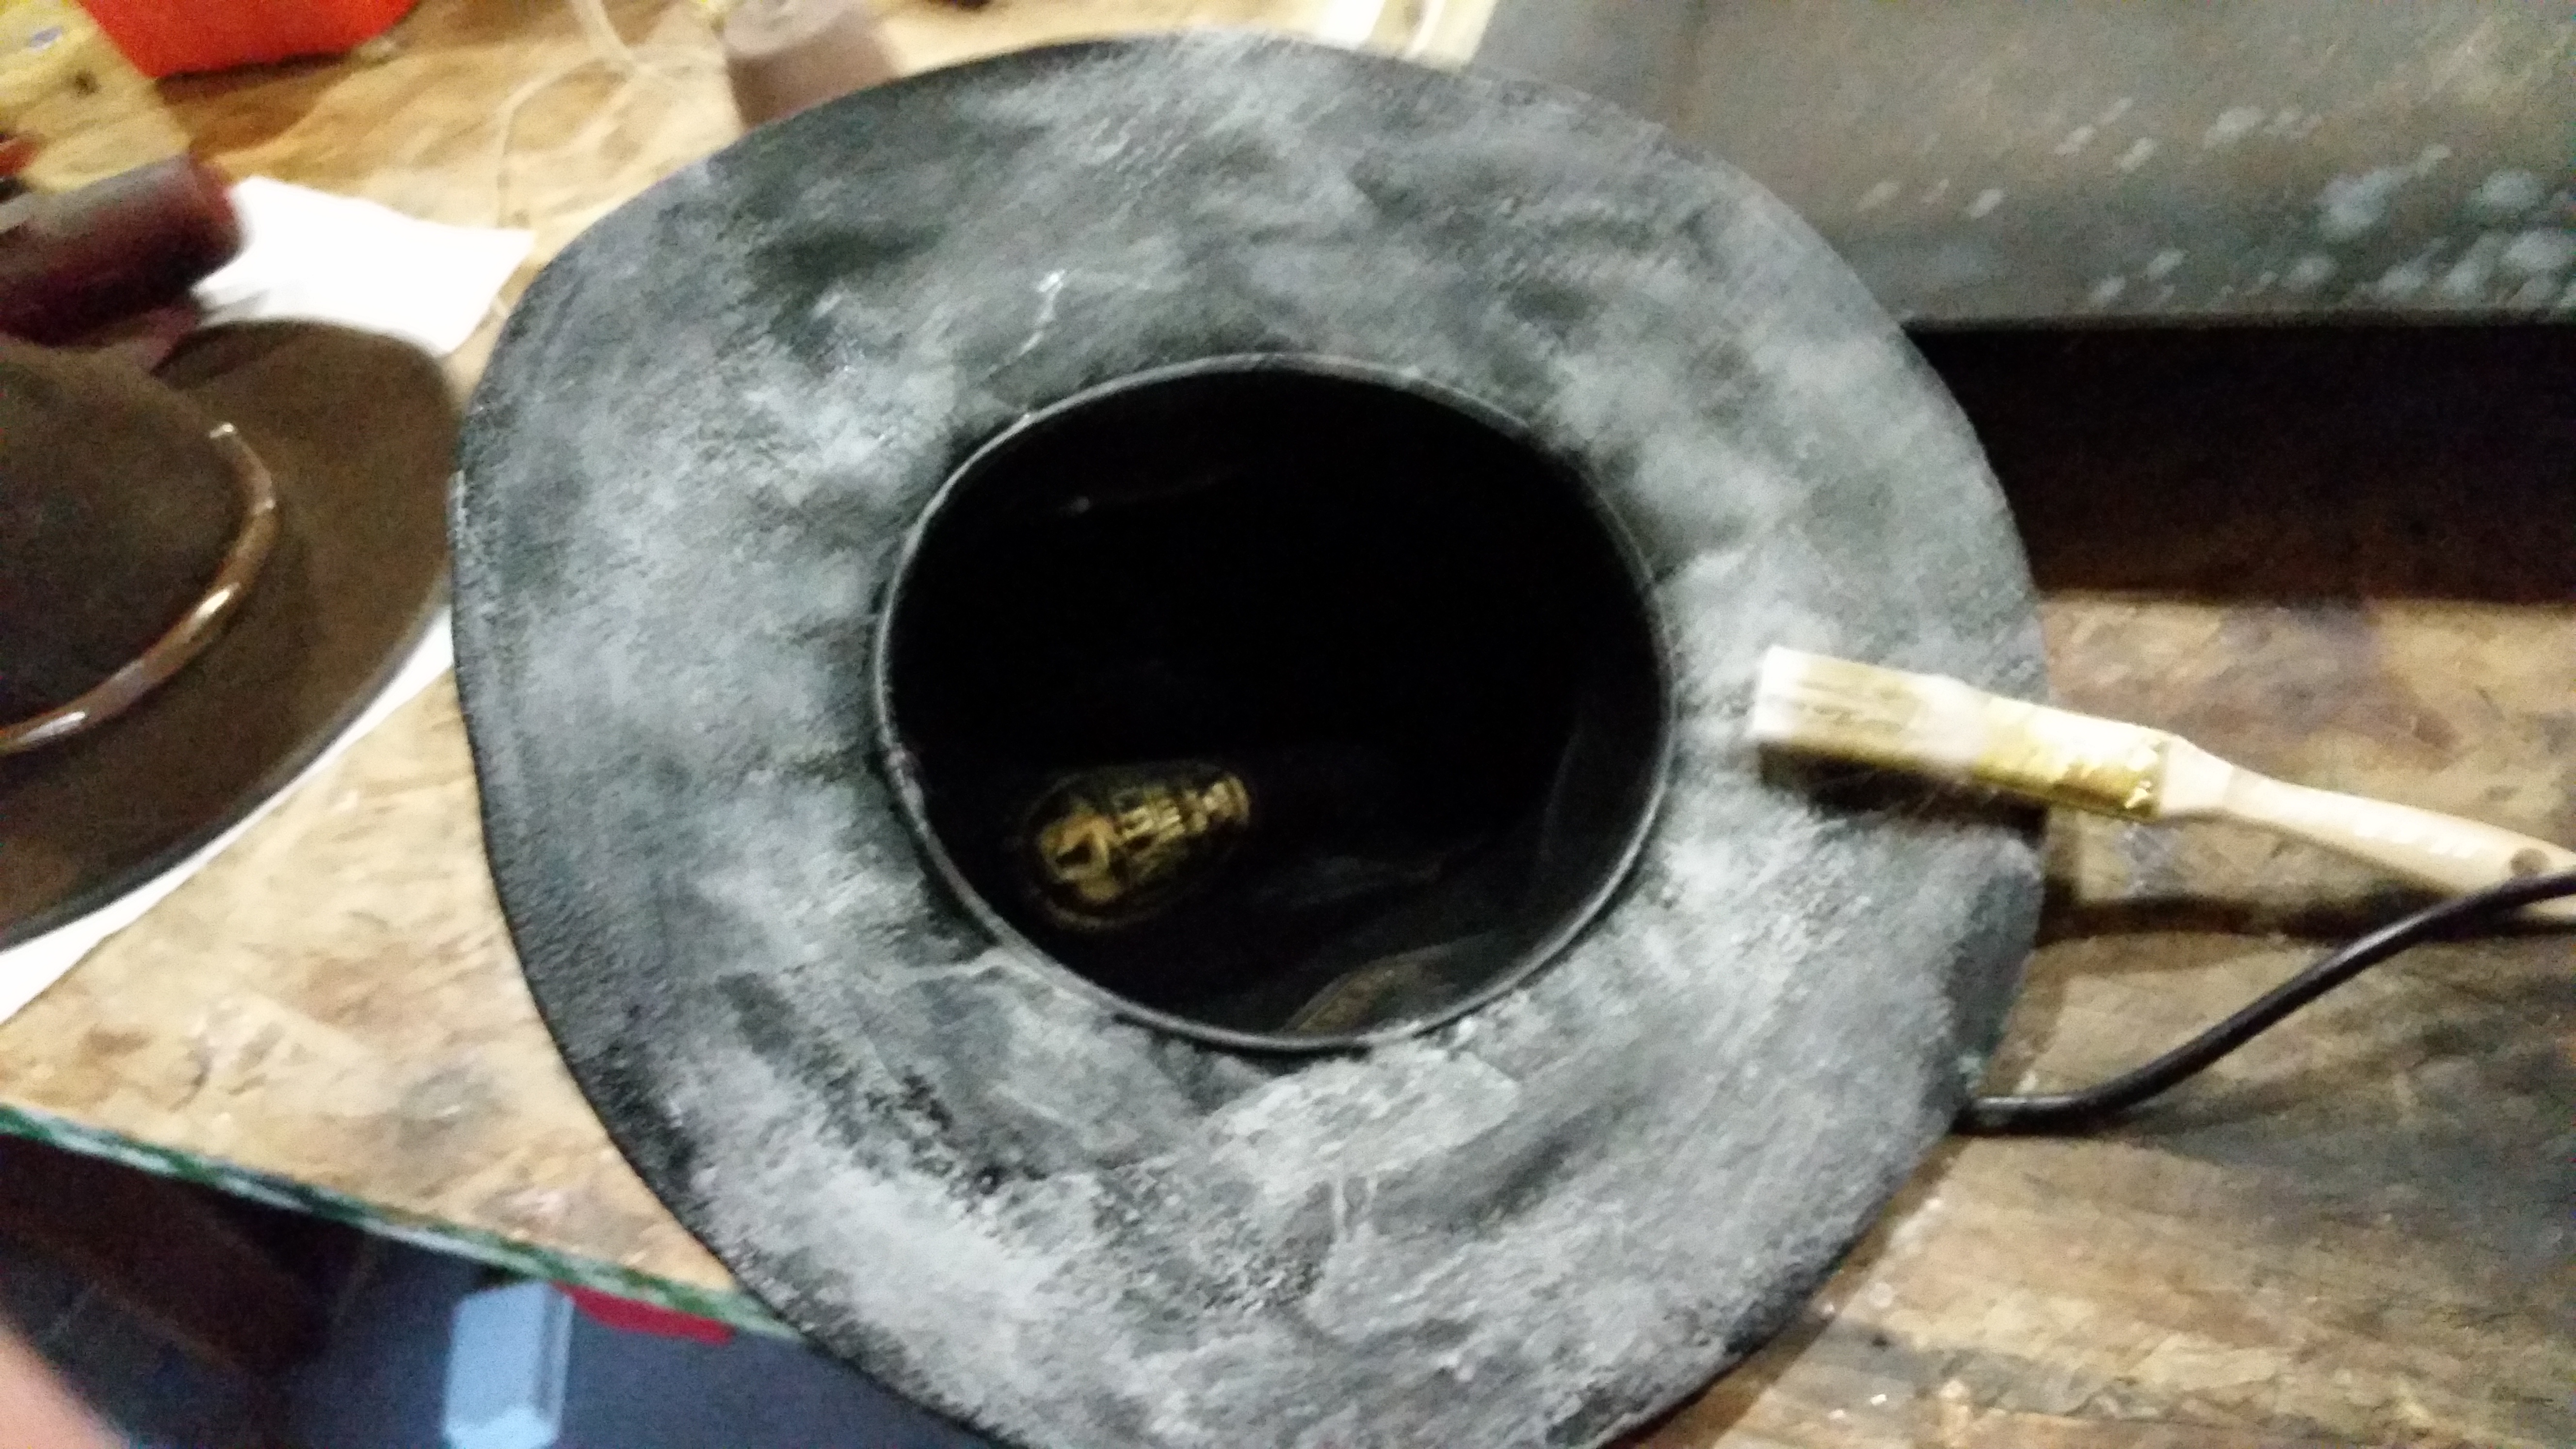 There was a waxy residue when I got done, because the felt didn’t absorb much of the wax. Now this is where my dad stopped, he just painted the hot wax on and let the hat felt absorb as much as it would, which is fine on a kid’s white hat, because who cares how a kids hat looks, right? Well, as I mentioned, my hats are brown and black and I’m not a kid. So, to get the wax to melt into the felt I used my heat gun and heated the wax on the hat. To my delight and surprise, the wax melted and was absorbed into the felt almost completely. What didn’t absorb, I brushed with a stiff bristle brush, removing what wax I could, and then heated the wax again until it was all absorbed into the hat.
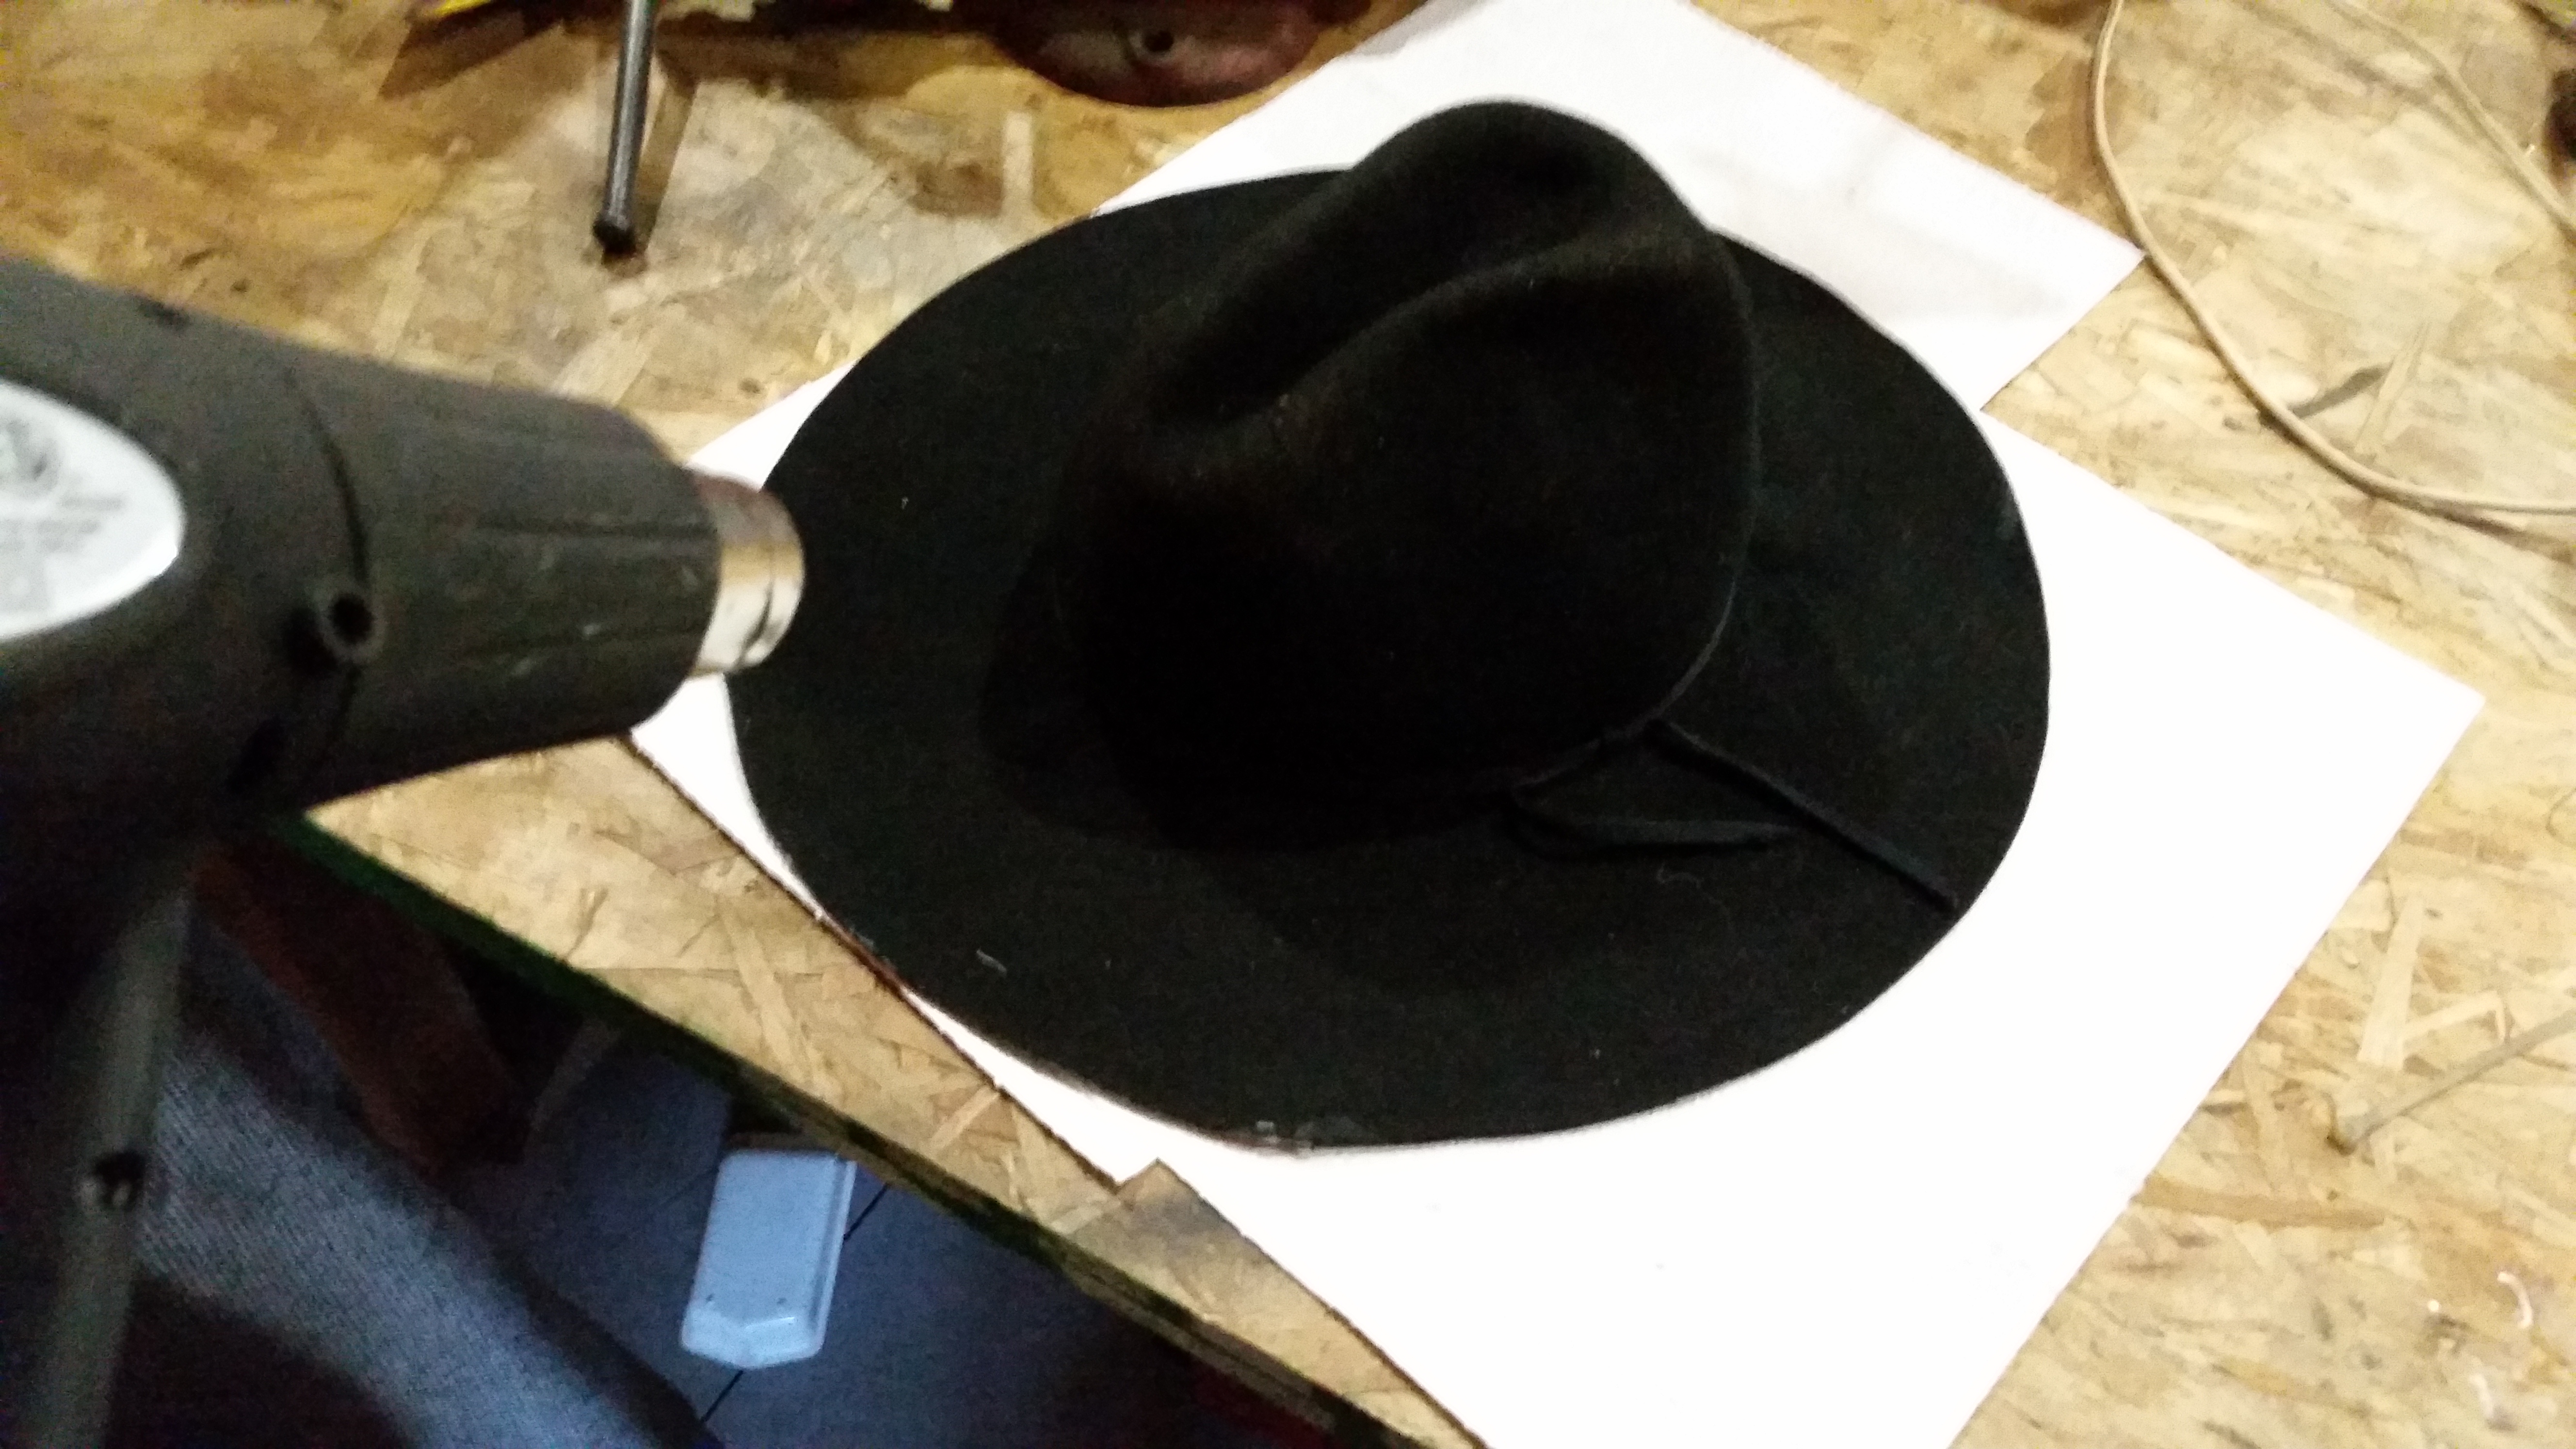 Would I recommend that you wax your $200 Stetson? No! But if you have an old hat that just won’t hold its form anymore and you are going to toss it, give waxing a try and it just might become your favorite kick-around- in- hat.