Highway Pegs for Adventure Bikes

Standard

DSCF7127

One of the best additions I’ve made to my V-strom is the highway or forward pegs. Having the option of stretching my legs forward and resting them on foot pegs is a real relief when I’ve been riding for hours. Making the forward pegs is also one of the more difficult additions I’ve made. In all honesty I have to admit that the project of making the pegs was made difficult by the fact that I am a cheap bastard and instead of buying square metal tubing I used what I had, round pipe. To make the forward pegs for an “Adventure Bike,” I had to make them hinged so that they would fold up and out of the way in rough riding conditions and so they could easily fold back down when riding on the highways. To make them hinge with round pipe I had to heat the ends of the pipe until it was red hot and then hammer the round pipe into perfectly square ends. It gets even more complicated and difficult when one of the… well never mind, let me just tell you how to do this the easy way.

First you have to have a skid plate on your bike. For my V-strom I bought a skid plate. I had all kinds of ideas of how to make a skid plate, but I got such a great deal on the bike that I convinced myself that I could afford to buy the plate. Without a skid plate you might be able to attach to your crash bars, but you’ll have to buy crash bars. The forward pegs are three separate pieces, a long bar that bolts across the front of the skid plate and two shorter bars that are the foot pegs. The two foot pegs attach to the long bar at both ends with a single bolt that acts as your hinge pin. For my bike the long bar is 16” and the foot pegs are 6.5”. I’ve been pretty happy with those lengths, but you may want to make adjustments for your particular bike or riding style.

To make them out of square tubing you would cut the long bar at 16″, but leave a bottom tongue on both ends sticking out about 1″. The pegs are 6.5″ with the bottom corner rounded so it will hinge up and not drag the bottom corner. Cut four 2″ ears out of flat stock and weld them to the ends of the main bar with 1″ of the ears sticking out past the main bar. The ears will be welded to the tongue and main bar, one on each side. The other option is to buy foot pegs and bolt them to the main bar, but what fun would that be?

DSCF7136DSCF7138

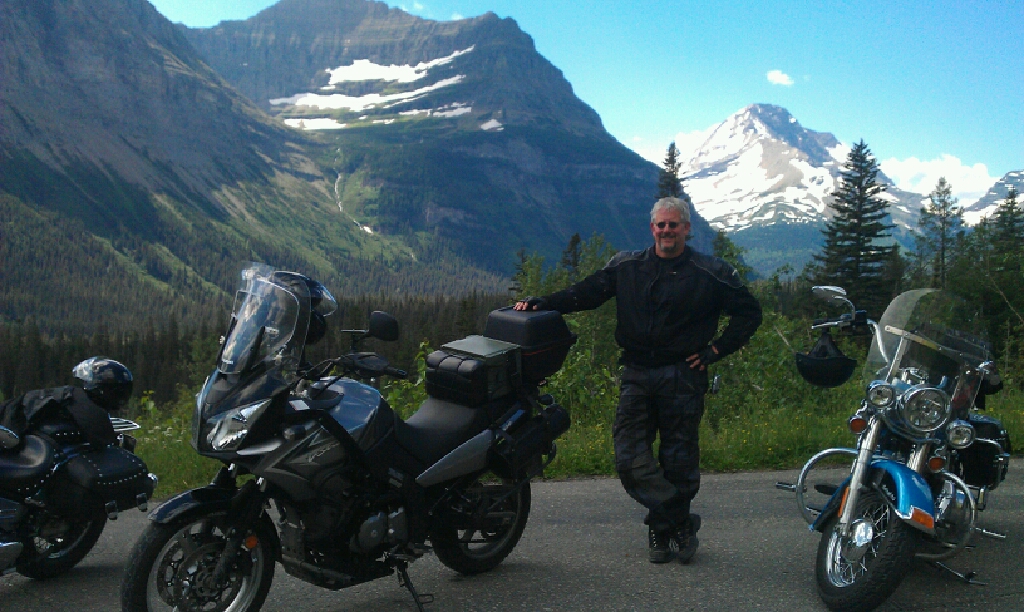
I bolted my long bar to my skid plate with two “U” bolts. To make the foot pegs less slippery and to dress up the pegs I used a pair of rubber handlebar grips and slid them onto the pegs. They worked pretty well, but I failed to glue them on and they had a tendency to slid outward. On a trip to Glacier I lost one outside White Salmon, so I went into a hardware store found a heavy duty black rubber hose that would slide tightly onto the pegs and I’ve use that since. In my shop I found a couple of plastic caps off some kind of aerosal spray cans, probably brake cleaner, to cap the ends of the rubber hose to make the ends of the pegs look a little more finished.

DSCF7137

Like I said, one of the best addition I’ve make to my V-strom. I’m not young, have a little arthritis in both knees and being able to stretch out my legs is so nice.

IMAG0061

Anyway…for what it’s worth.

Indestructable Tomato Cages

Standard

DSCF7102

So anyway, I think my wife might be insane. Here’s why; every year she plants tomatoes and every year she buys the cheap flimsy tomato cages for the plants to grow on and every year the plants grow up on the cages and tip them over, bending them to the ground. I believe the definition of insanity is -“Insanity: doing the same thing over and over again and expecting different results.” I still love her.

Last year as the tomato plants and tomatoes lay on the ground I told her I would make her tomato cages next year. Hey, I had to do something to stop the insanity. So next year is here and I made her tomato cages.

My youngest daughter and son-in-law have three sons. Myles is the middle son. My mom had three sons. I was the middle child. It’s interesting to watch Myles struggle to find his place in the family. I can relate to the struggle because I also struggled to find my place in my family. As a middle child you really do get ignored, especially if your older brother is cool and your baby brother is cute. His are. Mine were. His mom tries very hard to make Myles feel special, but when his friends come over to play they are drawn to the coolness of his older brother, the cuteness of his baby brother and Myles is mostly left out. Myles is good at passing time playing alone with his toys and is best friend, “imagination.” My mother claims that I did the same.

Myles just had a birthday and for his birthday he wanted tomato plants so he could grow his own tomatoes. He loves tomatoes. When my wife, his Nana, heard this, she decided “we” should make a raised garden and surprise him with the garden and tomato plants. He’s four.

I know it is a little odd a four year old wanting tomato plants for his birthday, but again, I can relate to that oddness. Ask anyone to describe me and they will use many different adjectives and “odd” will always be one of those adjectives. Most people will use restraint and not say it out loud, but the adjective “odd” will be top of mind and on the tip of their tongues. (“Odd”-Deviating from what is ordinary, usual, or expected; strange or peculiar.)

So I built Myles a raised garden out of 1″X6″ cedar. The garden is 2’X6’ and 11” tall or deep. 2″X6″ cedar would last a lot longer, but 1″X6″ will probably out last his interest in growing tomatoes.

I also routered out a sign that says “Myles’ Garden – Love Nana and Grandpa.” I didn’t have room to say, “Love Nana and Mr. Grandpa Larson,” which is what I insist that all my grand kids call me, so the sign just says Grandpa.

Long story short, I also made Myles tomato cages.

I made the cages out of 3/8” rebar. I figured that 3/8” would be strong , last a long time and the lumber yard was all out of ¼”. Our local lumber yard, Stayton Builders Mart, stock not only rebar, but they also have a rebar cutter. I figured that out of a 20’ piece of rebar I could cut five, 4’ piece out of the bar. Tough math. My plan was to make the cages 4’ tall, with four sides and each side would be 1’ wide, 4’X1’=4′. I bought enough rebar to make six tomato cages. Myles only needed two and my wife needs three, but she told me to make her four because someday she would retire and grow four tomato plants. Clearly she has her retirement activity all planned out, pushing her limit to four plants.

So the Builder’s Mart sold me the rebar, pointed to the cutter and said, “knock yourself out.” The chore of cutting went pretty quickly after I set up a cutting guide. I positioned the cutter 4′ from the base of the lumber rack, slide the rebar end against the rack and cut. Once I had all 45 of the 4′ pieces cut, I took them home, laid them all out in a nice flat row and using water and a wire brush I tried to remove as much rust and crud as I could

.DSCF7085

I let the bars dry and then painted them red. My wife wanted them painted red so that it would look like we had tomatoes before the tomatoes actually tuned red. What can I say, she is, after all, insane.

DSCF7086

After the paint dried I marked twenty four of the bright red 4′ bars into 12″ increments. Then I clamped each bar in my bench vice and bent them into 1′ squares using a piece of pipe that I slipped over the bars for leverage. It wasn’t as much fun as it sounds and welding the squares onto the 4′ legs was even less fun. After several frustrating hours trying to hold the legs and squares together while welding them I got all six cages welded together. After I finished welding each cage, I tested my welds by tossing the completed cage out my shop door onto the gravel driveway. It wasn’t much of a test, but it made me feel better. Of course, after bending and welding the cages I had to touch up the paint.

DSCF7099

In the end, the cages turned out pretty well. Am I glad I spent all that time making indestructible tomato cages? Yes. Would I do It again? Probably, but I am a glutton for punishment. If you take on this project, get a friend to help you hold the parts together while you weld.

Anyway…for what it’s worth.


Wind Guards for V-strom

Standard

IMAG0197

Showing my Better Motorcycle Windshield and my Wind Guards.

After I made my  “Better Motorcycle Windshield,” which worked great and eliminated the head buffing, I realized that the only other big source of wind hitting me was coming from the tank area. I knew the usual solution was to put on fork wind deflectors. But I didn’t like the idea of something attached to my forks on a bike that I rode in rough conditions like back roads, forest service roads and on occasion, a narrow trail. I felt like they would be susceptible to damage from bushes, branches and if someone else was riding it, crashes. After some thought, I decided that I wanted something that would mount on the bike nearer to my legs, offering some protection to my legs and at the same time diverting the air flow coming from below and up around my bike’s tank.

What I did was simple and works great. Using plastic from a 55 gallon plastic barrel, I cut two wind guards following a pattern that I had developed from cardboard. I patterned the cardboard to match the contour of my bike, without touching or rubbing on my bike.

DSCN0428

The mounting brackets were easy to make from the plastic of the barrel. I probably could have bought and used two ell brackets and two conduit clamps, but I didn’t have the right size on hand and the plastic offers more flexibility.

DSCF7090

My wind guards mount to my crash bars with the “U” clamps and to the fairing using the ell brackets and a screw into the wind guard. I used a factory screw that holds the bike’s fairing in place. It was located in a perfect place for my purposes.

DSCF7089

 I painted them with truck bed coating that you buy in a rattle can and the black matches my bike great.

They work great! With my windshield modification and the lower wind guards I ride in a very wind free environment. Now the only time I get hit with wind is if the wind is blowing in from the side.

I was afraid that the deflectors would make my bike look too redneck, but I have gotten a lot of compliments on them and most people think that they are stock.

DSCF7087

Anyway…for what it’s worth.